

 |
 |
 |
||||

Contents: How To, Main Page
Step 12 Like a day at the beach. Destroying worlds that fail to acknowledge the Empire and what it stands for. The similarities with the beach have to do with how bright that super-laser is. Many a retinal burn led to early retirement until we installed the new laser safe visors in the helmet. I'll show you how that is done.
Image 30 (Lens) For the process of making the lens I use 1/8" smoked acrylic. Preheat your oven to 325 degrees, so as not to upset the spouse, girlfriend, mother, or whomever, tried to find an old oven you can use for this step. This stuff is very temperamental (get it) so don't rush it. It takes about 1 to 2 minutes to get the acrylic pliable. Use something oven safe to prop the lens up away from the rack in your oven. This will allow the lens to droop or sag as it heats up. Not to mention, it keeps your lens from getting grill marks by setting on the rack itself.
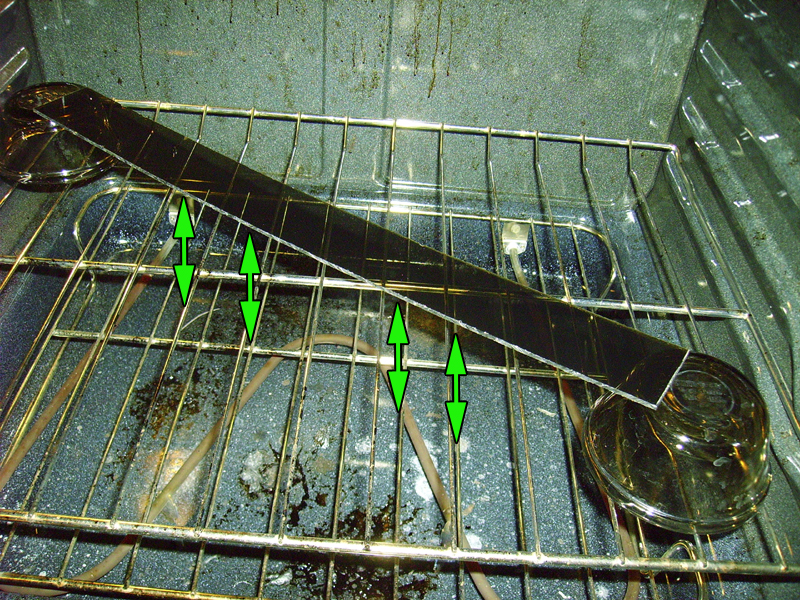
Image 31 (Lens) cont. KEEP AN EYE ON YOUR ACRYLIC!! See how the acrylic is beginning to sag. Allow it to do so, until it just touches the rack. This is your indication the material is perfect for forming.
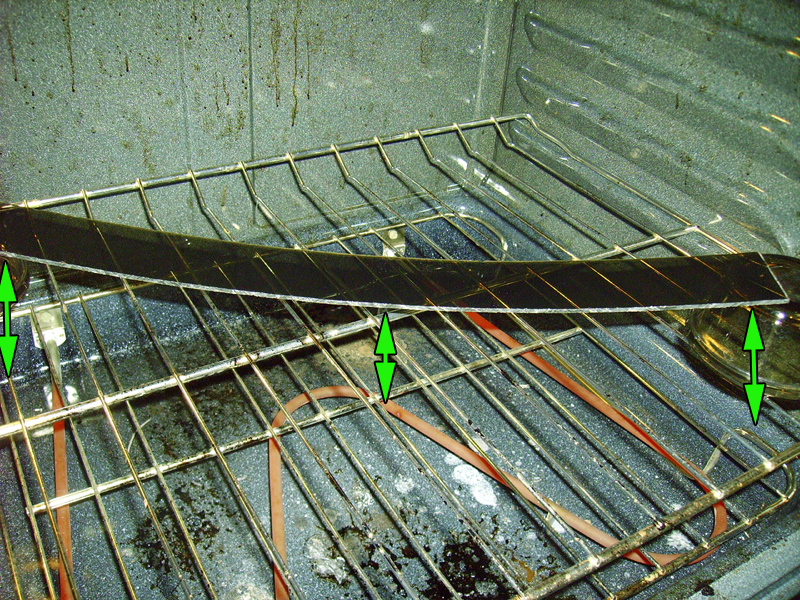
Image 32(Lens) cont. Now, quickly remove it from the oven and place it over your form. I use a botched up MK-II Navy helmet pull as its curvature fits the front part of the dome for the gunner like a glove. Hold it in place until it cools...that is the fun and painful part!
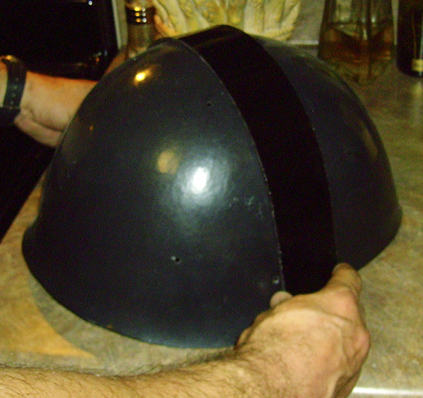
Image 33 (Lens) cont. Place the visor into the dome on the upper lip and make sure it is pressed in on both sides. Mark the visor for trimming so that when it is cut the visor pressure pushes back on both rivets...or the rivets keep pressure on the visor pressing it into the dome.
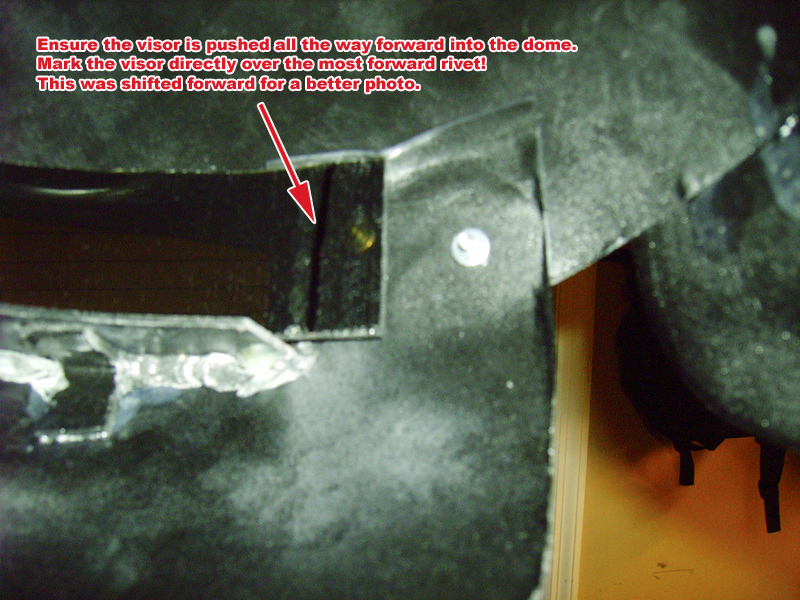
Image 34 and 34.5 (Lens) cont. Affix the visor into the dome with Plastic Weld. Try to get the visor as level as you can across the lip for a tight fit. Some gap along the bottom of the lip is encouraged to help with anti-fogging inside the bucket during high humidity troops. You may need to hold the visor on each side while bonding. This will take approximately 4 to 5 minutes per bonding point. Do this on each side of the dome near the lip and cheek.
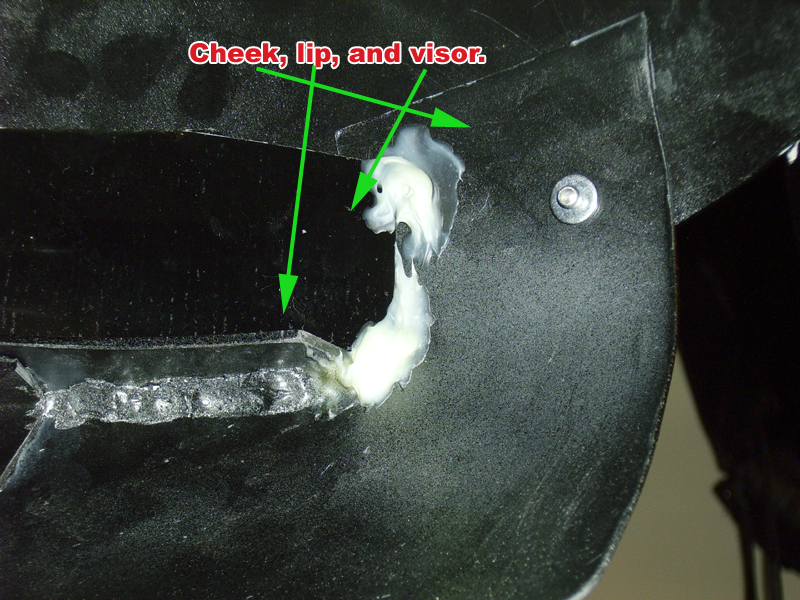
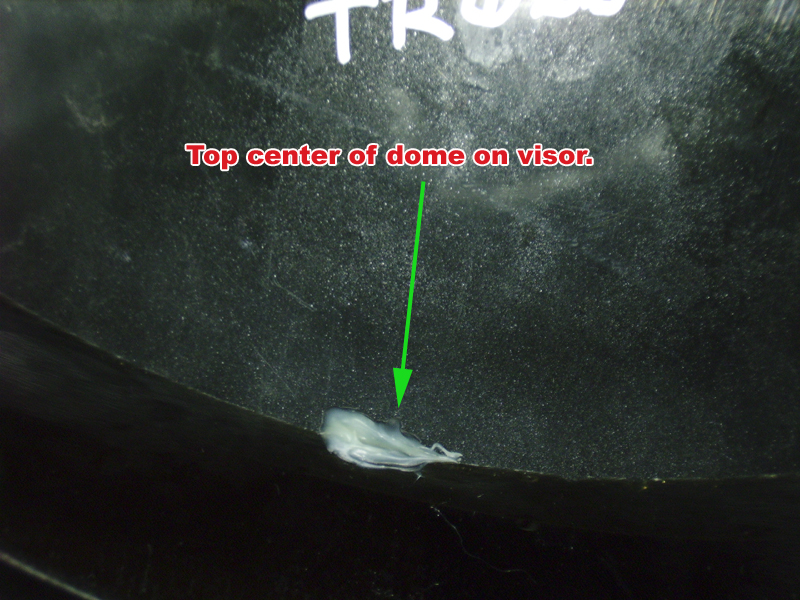
Image 35 (Lens) cont. For the last and final heartache. Apply Plastic Weld to the center of the dome and visor to prevent "flapping" or visor chatter on the lip when donning the helmet. It doesn't have to be pretty...just effective!!!!
ALMOST THERE, stay on target!
MOVE ALONG, to FINISHED PRODUCT