

 |
 |
 |
||||

Contents: How To, Main Page
Step 9 Now for the most enjoyable time in the build. Not really. If you have never "Color" or "Wet" sanded anything, here is your chance to learn. The term wet sanding means exactly that. Remember in the beginning of the build when you inventoried all of your materials? Remember the 1200 grit sandpaper? Time to put it to use.
(Prep) I don't really have a photo for this one. The process is to continuously wet the item being sanded with water. While using a sponge and a bucket of water or using a faucet and a deep wash basin or bathtub, keep the surface wet to provide contact of the paper to the subject being sanded. This prevents the materials being sanded away from clogging up the paper and prevents that same waste material from acting as an abrasive itself. Do the entire helmet using this process. When the helmet is wet it looks like black marble, however, when you are done the helmet should look like a flat grey piece of already expended charcoal. Now that your surface is super slick...to the touch that is, but rough enough for the adhesive qualities of paint to enjoy; put some paint on it!
Step 10 The paint you choose is entirely up to you. If you are good with a spray can and want it dry yesterday, use any off the shelf, high gloss acrylic enamel paint. Some people choose Fusion. I have never used it so I couldn't give you any of the spraying or curing advice at all. Again, I like it shiny! I choose to spend around $65 dollars on each helmet I get painted. This is the piece of any costume that gets the most attention, and after all of the time you spend building and preparing one of these, ask yourself if you want to take that extra step.
(Paint) When my helmets go to the shop, they are ALWAYS given the extra help of bonding by utilizing an adhesion promoter. This is now available in a spray can at your local supplier. Even though you have done a wonderful job in sanding your helmet. Why not spend a little extra to prevent chipping and flaking? This stuff dries very fast and is ready for paint within minutes after spraying. DON'T put it on dry though or you've just wasted your time sanding that entire helmet and the final coat of paint will end up with the texture of an orange peel.
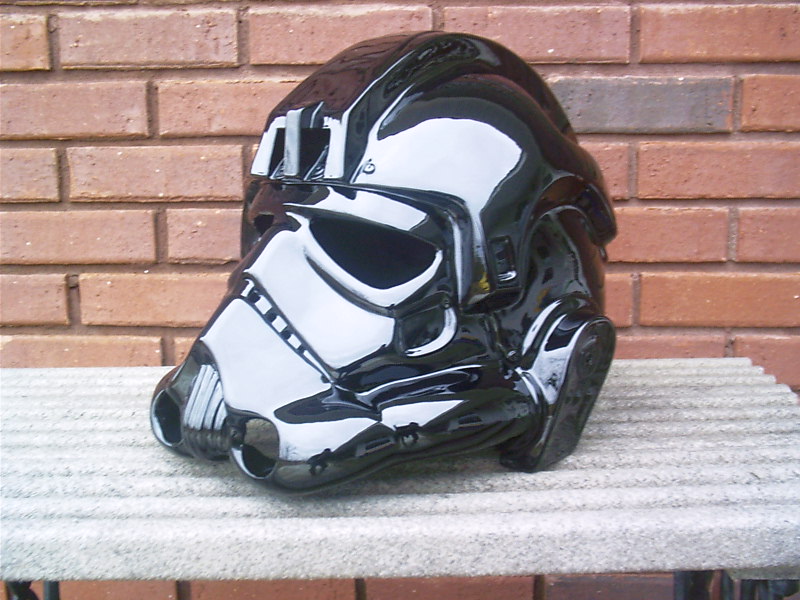
Here are some helmets painted with the aforementioned process.
This is a vinyl helmet...maker not disclosed.
 ]
]
This is a gunner helmet that was built during the making of
this tutorial.
TAKE YOUR TIME DURING THE ABOVE STEPS...nothing good is worth the rush.