

 |
 |
 |
||||

Contents: How To, Main Page
Step 8 Back to the com box! Now that the scoop has been attached to the dome it makes it a lot easier to mount the com box to the helmet. The indentions in the scoop, just above the cheeks gives you a pocket to shoot for and helps align the box.
Image 21 (Com Box Installation) First, align the communications box with the vertical line above the cheek; for the sake of argument, lets call it the sideburn. Notice the green dashed line in the image below. Slide the com box toward the top of the dome and set it approximately 1/2" to 3/4" above the upper dome brow line. Once you have it where you want it, use a pencil or the "silver Sharpie" to mark a ghost line for the following steps.
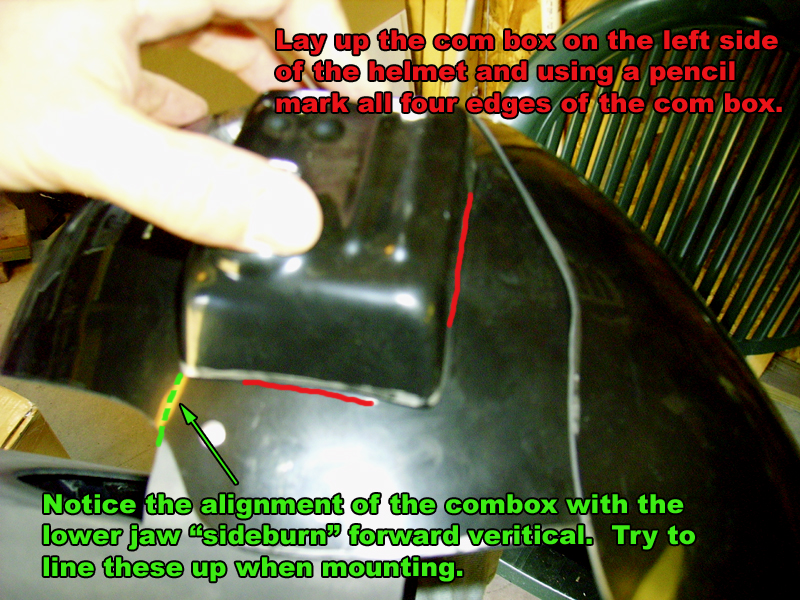
Image 22 (Com Box Installation) cont. The picture below pretty much says it all. The drill bit size all depends on how big the screws are that you plan on screwing into the wooden block. !!! WARNING !!! Be very careful not to use a screw that will completely pass through the wooden mounting block and end up outside the com box exterior!
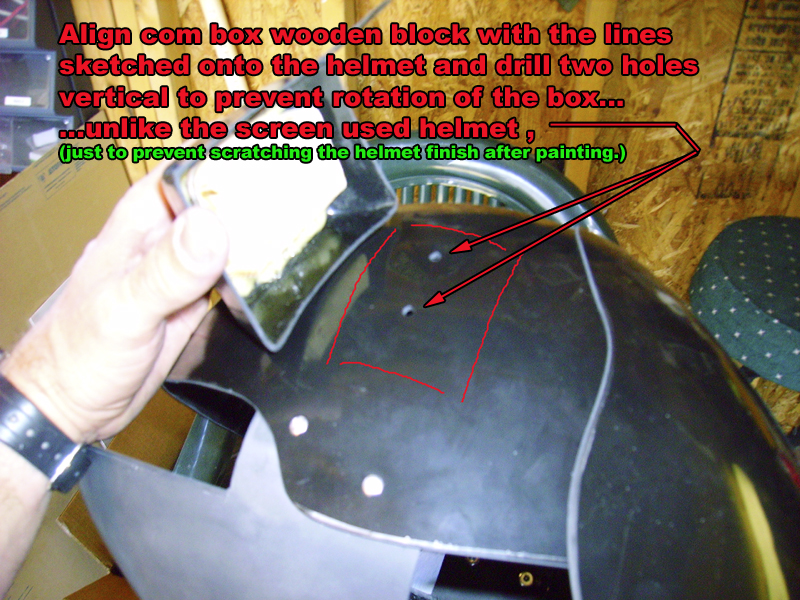
Image 23 (Com Box Installation) cont. Yet another self explanatory image follows. I say it again...!!! WARNING !!! Be very careful not to use a screw that will completely pass through the wooden mounting block and end up outside the com box exterior!
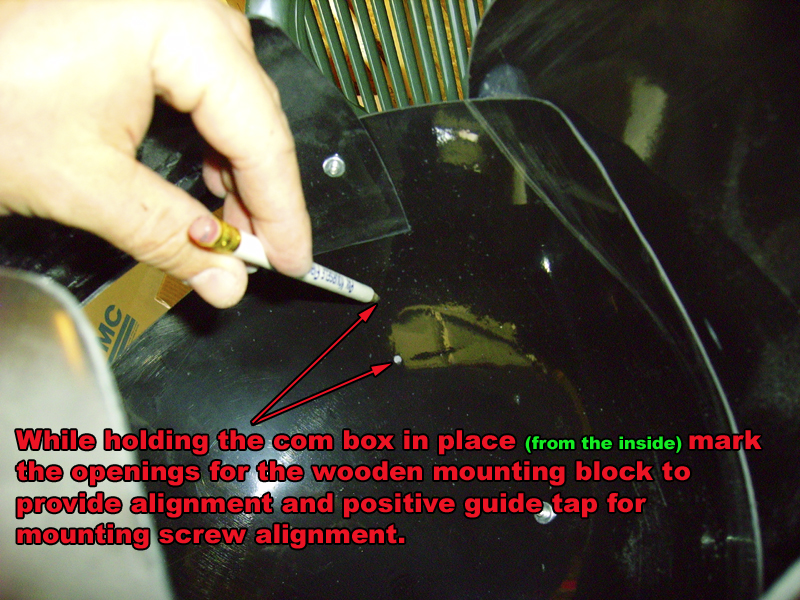
Image 24 (Com Box Installation) cont. This is too easy, huh. Just check out the image again. OK, this is the last time I'm gonna say it...!!! WARNING !!! Be very careful not to use a screw that will completely pass through the wooden mounting block and end up outside the com box exterior!
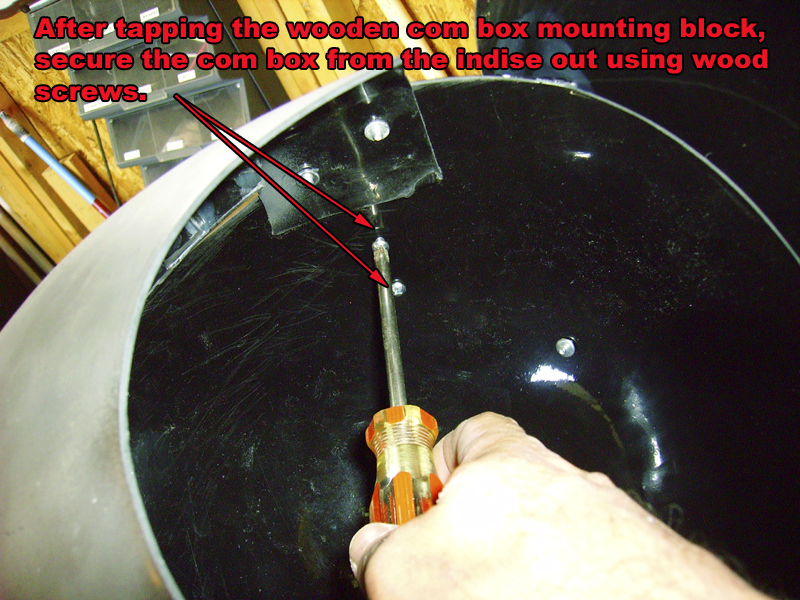
BE PROUD AND REJOICE!!! You have achieved miracles!!!
