
Contents: How To, Main Page
Step 7 With the com box complete we will move on to the back scoop and try to balance out our bucket. The reason we are doing this now is to ensure proper alignment of the scoop prior to mounting the com box. The back scoop was mounted in various positions on the helmet in different scenes. Some scoops were larger than others (as it is with most things in life). Throughout the films you will see scoops mounted horizontal from the helmet *1(straight out the back), some mounted at about a 20 degree angle *2(slightly down the back), and some at almost a 45 degree angle *3(parallel to the shoulder blades and almost pointing directly to the ground). Herein lies the question; where do you want yours? On my personal helmet, I decided to go with the long-lip gunner who has the back scoop mounted near the 45 degree angle, as seen in image *3. Here are a few examples. You may click the images to enlarge.
| *1 |
*2 |
*3 Gunner on the other side of gun. |
Image 16 (Scoop Mount) After sanding the scoop to the desired shape you should be left with something similar to the image below.
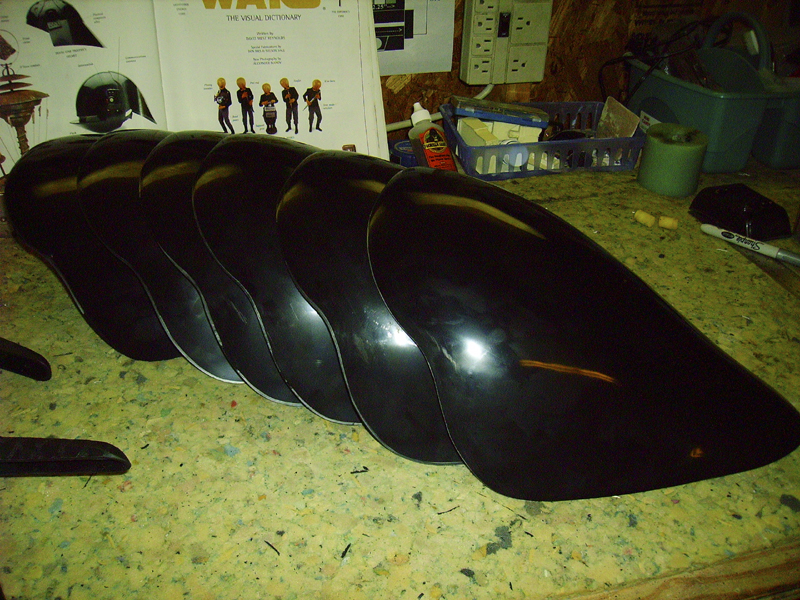
Image 17 (Scoop Mount) cont. Lay the back scoop on the rear of the dome and temporarily clamp into place with some spring clamps. The image shown here is looking at the bottom of the helmet. Ensure the scoop is aligned with the lower jaw forward section. Measure, clamp, and measure again.

Image 18 (Scoop Mount) cont. Here is another view of the helmet bottom looking toward the back of the helmet. Measure, clamp, and measure again...sound redundant? Remember, it all depends on how much angle you have chosen to go with on the back scoop. Right now you are looking for even spacing before you commit the scoop to the dome.
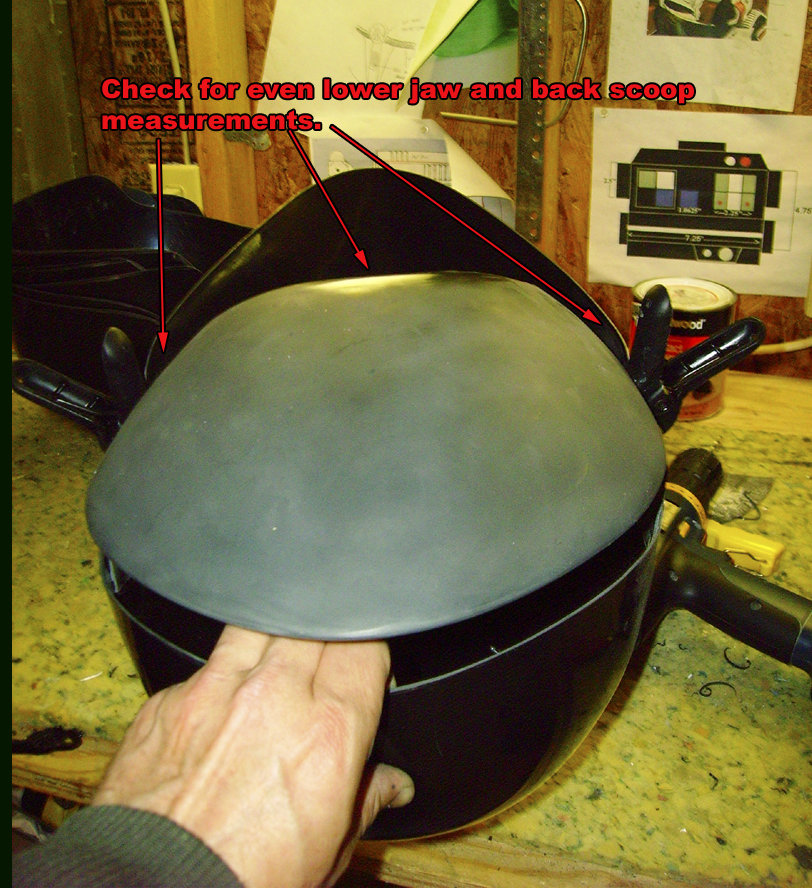
Image 19 (Scoop Mount) cont. Its time to do the deed! Yup, we are now going to drill a couple of 1/8" holes through the scoop and the dome. I suggest using aluminum rivets with steel washers on the inside of the helmet. If you don't use washers, the rivets will pull through the plastic and you will probably end up with parts separation before you finish the construction of the helmet.
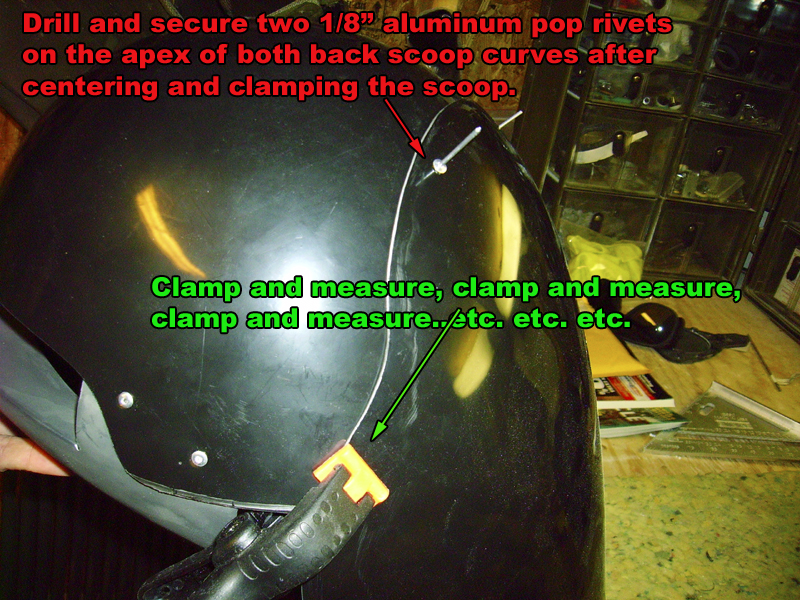
Image 19 (Scoop Mount) cont. Now that you have "snapped" the rivets into place, you need to complete the scoop attachment by securing the lower portion of the scoop to the dome, just behind the cheeks of the jaw on both sides. I do this to prevent any flapping of the back scoop and to protect against tearing the scoop off in the event it catches on something while costuming.
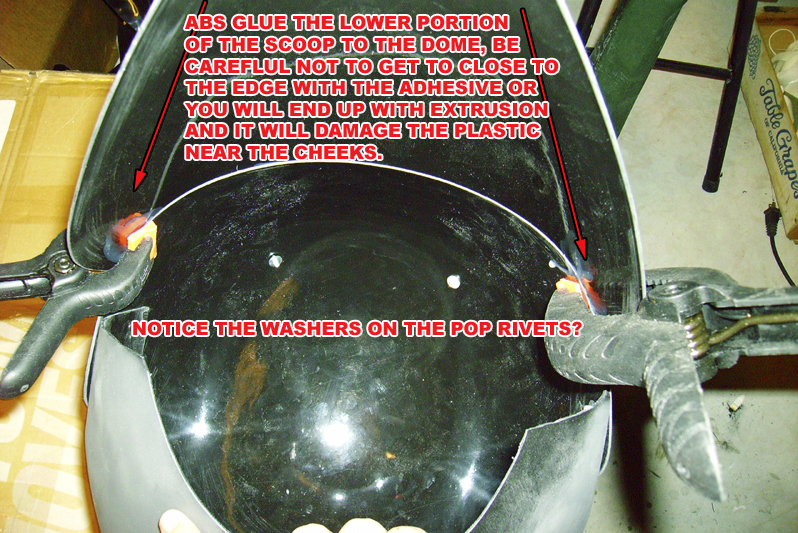
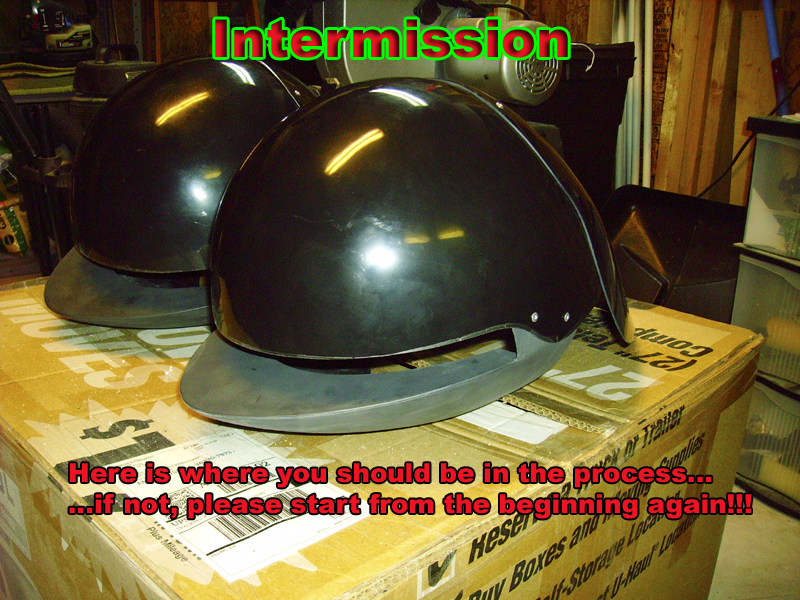
Image 20 (Intermission) Is this what yours looks like now?
